At the heart of effectively managing the risk mitigation review process are the "Perform Reviews" and "Review Regularly" menus. By utilizing these two menus and keeping them current, you can establish a structured and continuous risk review process that ensures you remain on track.
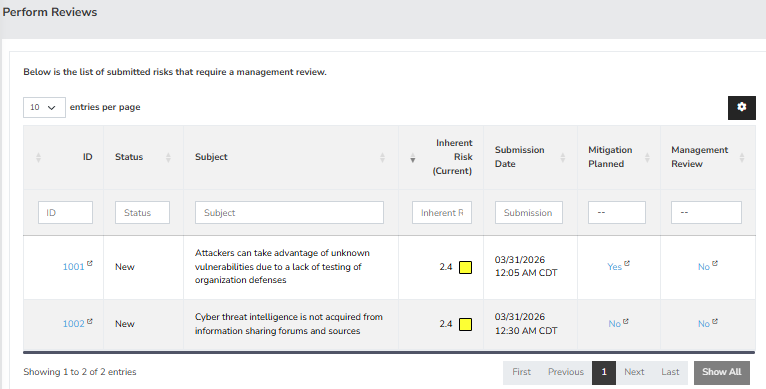
Let’s begin with the "Perform Reviews" menu. To access this page, navigate to "Risk Management" on the left, expand it, and click on the "Perform Reviews" panel. This screen is specifically designed for actively reviewing all information related to risks and their mitigations. By engaging with this process, you can identify which reviews require the most urgent attention and focus. (Below is a sample screenshot of the Perform Reviews page.)
An alternative method to conduct a risk review is to click on “Risk Management” located on the left side of the screen. Expand the section and select the final option labeled “Review Regularly.” (Below is a sample screenshot of the “Review Regularly” page.)
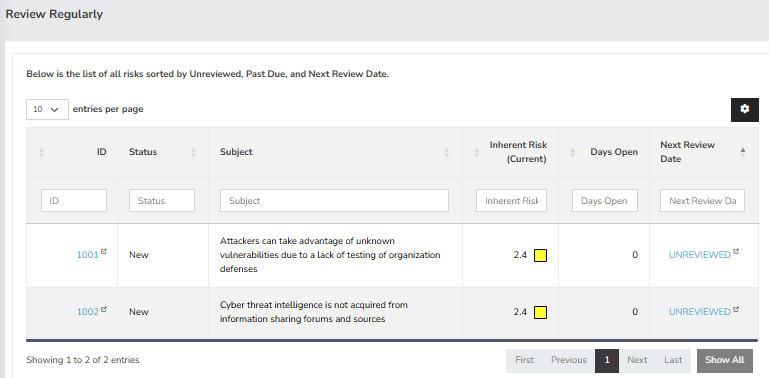
This page provides an overview of all risks currently awaiting review. On the right side, you'll find a column titled “Next Review Date,” which indicates when the next review for each specific risk is scheduled. If the review date has passed, it will show “Past Due.” By clicking on the date in the “Next Review Date” column, you will be taken directly to the “Review” tab on the corresponding “Risk ID” page for that risk.
In the Review page, you will see the review date alongside the reviewer’s name displayed in the middle of the screen. Below this information, there is a drop-down menu labeled “Review.” Use this menu to classify the risk as one that should be tracked and either approved or rejected, based on the criteria established within your organization. After making your decision to approve or reject the risk, you’ll need to select an option from the “Next Step” drop-down menu to document the proposed mitigation for that risk before submitting the review.
There are three default “Next Steps” available for selection. If you wish to add new steps, this can be easily done through the “Configure” menu at the top, followed by selecting “Add and Remove Values” on the left. The three default options are “Accept Until Next Review,” “Consider for Project,” and “Submit as a Production Issue.”
Additionally, you can enter any relevant comments or descriptions in the “Comments” field. On the right side of this page, you will see the next review date displayed based on the assigned risk score. If you prefer to set a different review date, you can do so by selecting the “Yes” option under “Would you like to use a different date instead?” This allows you to override the automatically assigned review date, with the new date applying specifically to this risk only. Other risks sharing the same risk score will continue to follow the default settings established in the “Configure Review Settings.”
Once you have finished inputting all relevant data, you are now ready to submit the review.