Step 1: Increasing the size of the VM VDD
You may have already noticed that VirtualBox does not offer an option to expand virtual disk space directly through its user interface. However, it does provide command-line interface (CLI) tools that allow you to accomplish this task. To get started, you'll need to open a command prompt or terminal. You can do this by pressing the Windows key + R, then typing 'cmd.exe' and hitting Enter.
1. First, navigate to the location where VirtualBox is installed. If you're using the default installation path, you can do so by entering the following command: cd “C:\Program Files\Oracle\VirtualBox”

2. To resize your VDI copy, use the command below. If you wish to adjust the size from the example provided (15GB), you can specify the desired size in megabytes (MB) using the resize flag:
VBoxManage modifymedium “C:\Users\Dorian\VirtualBox VMs\simplerisk-20190105-001\simplerisk-20190105-001-disk001.vdi” --resize 15360
![]()
Step 2: Setting Up to Boot Live ISO
Right-click on your virtual machine (VM) in VirtualBox and select “Settings.” Navigate to the “Storage” tab. If you see a CD/DVD drive listed, click on it. If there isn’t one, click the blue drive icon with a “+” located at the center bottom of the window, then select “Add Optical Drive.” With your drive set up, it's time to load it with the ISO file—in this case, we're using Ubuntu 24.04 as previously mentioned.
Click on the CD/DVD drive in the list, then on the right side, click the blue disc icon and select “Choose virtual optical disk file.” Locate and select the ISO file from your downloads. Finally, ensure you check the “Live CD/DVD” checkbox. Once you’ve completed these steps, it should appear as shown in the example.

Step 3: Booting from the Live ISO
To boot the VM, it typically recognizes the disk as long as it is properly connected. However, if it fails to boot for any reason, you can manually set the boot order. Simply right-click on the VM, select the “Settings” menu, and navigate to the “System” tab where you can adjust the boot sequence as illustrated below.

Step 4: Using Ubuntu to expand the partition
Your virtual machine should now initiate the boot process from the Ubuntu ISO. Please select the “Try Ubuntu” option to enter Ubuntu 24.04. To ensure everything is set up correctly, I will guide you through the following important steps.
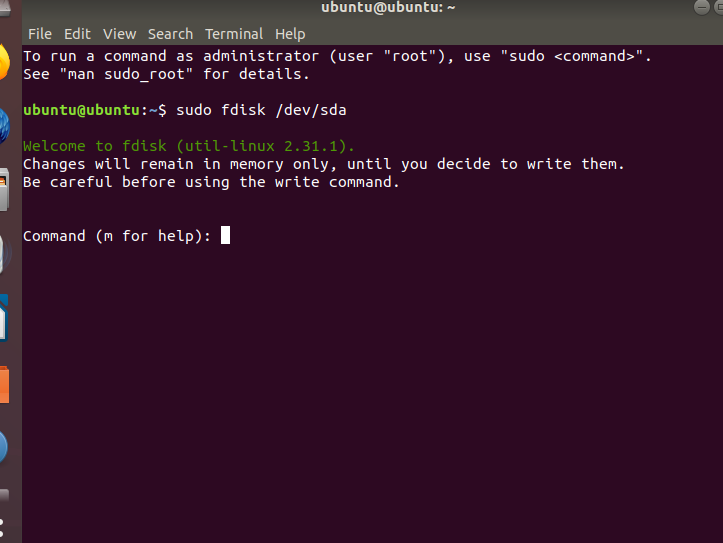
1) First, open the Terminal. You can easily find it by searching for "Terminal" in the Applications menu we used previously.
2) Once the Terminal is open, type the command “sudo fdisk /dev/sda” and press Enter.
3) To view the current partition layout, press “p.” Take note of the starting location for sda5.
4) Next, press “d” to remove sda5, followed by sda2.

5) To start creating a new partition, press “n”. Then, choose “e” to designate it as an extended partition and assign it the number 2. You can go ahead and use the default values for the start and end sectors, as they should be suitable for your setup.
6) Next, press “n” once more to create logical partition 5. For the first sector, input the value you noted in step 8 (this is likely to be 1501184). The end sector should remain at its default setting, which will extend as far as possible.
7) After that, press “p” to print the current partition layout and double-check that everything appears correct.
8) Finally, press “w” to write the changes to the disk.
Summary
These steps will have guided you through expanding the disk space on a SimpleRisk VM using VirtualBox. If you have found any instructions to be incorrect or lacking detail please contact us at support@simplerisk.com